
A clear, step-by-step tutorial explaining how to design and order custom mugs using modern mug printing tools.
Introduction
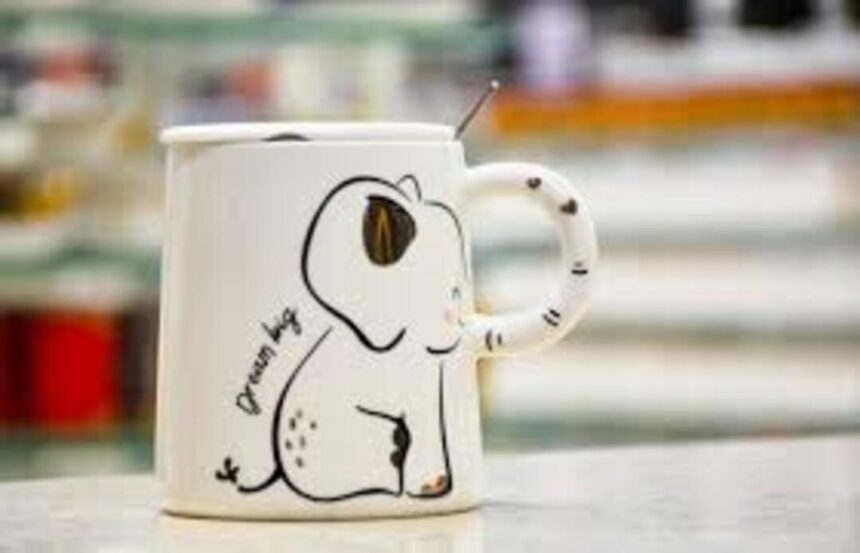
Custom mugs remain one of the most practical entry points into personalized product design. They are compact, affordable to produce, and versatile enough for gifts, team branding, internal company use, or small-batch merchandise. Because the printable surface is fixed and predictable, the design process is more controlled than apparel or large-format prints.
AD
Modern mug printing tools simplify what used to require professional layout software. Most now provide pre-sized templates, drag-and-drop editing, font pairings, and print-ready previews. The key differences between tools tend to involve template structure, typography control, export flexibility, and how clearly they visualize safe zones and wrap areas.
A practical starting point is the mug designer from Adobe Express, which offers ready-sized layouts and guided editing in a browser environment. The workflow outlined below applies across most mug printing tools, focusing on decisions, checkpoints, and print considerations rather than brand-specific comparisons.
Step-by-Step Guide to Using Mug Printing Tools
Step 1: Select a correctly sized template
Goal
Begin with a layout that matches your mug’s printable area.
How to do it
- Choose the mug type (11 oz, 15 oz, wraparound, or single-sided).
- Open a template sized specifically for that product.
- Turn on margin guides or safe-area overlays.
- Confirm orientation (landscape wrap vs. centered front panel).
- Save a working version before making edits.
What to watch for
- Designing in generic square or social media dimensions.
- Ignoring handle placement zones.
- Assuming all mugs use the same wrap width.
- Forgetting to confirm print resolution (usually 300 DPI).
Tool notes
If you’re preparing artwork separately, tools like Figma allow you to manually set canvas dimensions with pixel precision before exporting for print.
Step 2: Define the core message before designing
Goal
Clarify what the mug is meant to communicate.
How to do it
- Write your main message in plain text first.
- Limit the concept to one primary idea.
- Decide if the design is text-driven, image-driven, or mixed.
- Identify one focal point (name, quote, logo, or graphic).
- Remove any secondary message that competes for attention.
What to watch for
- Adding too many lines of text.
- Mixing unrelated themes.
- Designing without considering how the mug is held.
- Relying on novelty instead of clarity.
Tool notes
If you want help refining phrasing before designing, tools like Grammarly can assist with tightening copy so the message fits cleanly within a limited print area.
Step 3: Add and adjust typography for curved surfaces
Goal
Ensure text remains legible once printed.
How to do it
- Add the main headline first.
- Increase font size beyond typical social graphic sizing.
- Use high contrast between text and background.
- Keep key words away from extreme edges.
- Test bold vs. regular weights for clarity.
What to watch for
- Thin script fonts that blur in print.
- Placing text too close to wrap seams.
- Overusing decorative fonts.
- Forgetting that curvature slightly distorts perception.
Tool notes
If working in a separate layout tool, Affinity Designer provides strong typography control without requiring complex setup.
Step 4: Incorporate graphics or images thoughtfully
Goal
Add visuals that support — not overwhelm — the message.
How to do it
- Use high-resolution images (minimum 300 DPI at print size).
- Remove busy backgrounds if they reduce contrast.
- Align images with text rather than scattering them.
- Maintain consistent spacing between elements.
- Preview the wrap alignment before finalizing placement.
What to watch for
- Stretching low-resolution images.
- Cropping important elements near the mug edge.
- Using overly detailed artwork at small scale.
- Failing to check image transparency backgrounds.
Tool notes
If you need to remove backgrounds quickly, Remove.bg can isolate subjects before importing them into your mug layout tool.
Step 5: Review safe areas and edge alignment
Goal
Prevent cropping or awkward alignment during printing.
How to do it
- Re-check the safe margin guides.
- Ensure important text stays within center zones.
- Verify full-wrap designs line up evenly.
- Rotate the preview to simulate real-world viewing.
- Zoom in to inspect edges and spacing.
What to watch for
- Text extending into bleed zones.
- Designs that rely on exact edge alignment.
- Forgetting the handle’s interruption point.
- Ignoring small alignment inconsistencies.
Tool notes
Many mug tools include 3D previews. If exporting manually, use a mockup generator like Smartmockups to visualize edge placement before ordering.
Step 6: Prepare the file for export or direct order
Goal
Ensure the file meets printer specifications.
How to do it
- Confirm resolution (300 DPI recommended).
- Use RGB or CMYK based on printer instructions.
- Flatten layers if exporting as PNG or JPEG.
- Embed fonts if exporting as PDF.
- Double-check color contrast for print.
What to watch for
- Exporting at screen resolution (72 DPI).
- Leaving fonts unembedded.
- Relying on neon colors that may dull in print.
- Forgetting to review final previews.
Tool notes
If color accuracy matters, Pantone’s digital color tools can help compare intended tones with printable equivalents before export.
Step 7: Place your order and manage fulfillment
Goal
Move from design to delivery smoothly.
How to do it
- Review quantity and pricing tiers.
- Confirm shipping timelines.
- Verify address accuracy.
- Save order confirmations and proofs.
- Track shipment progress.
What to watch for
- Missing proof approval steps.
- Ordering the wrong mug size.
- Underestimating production lead time.
- Ignoring packaging requirements for gifts.
Tool notes
For managing shipping and fulfillment logistics after ordering, platforms like ShipStation can centralize tracking and shipping data if you are producing mugs in batches.
Common Workflow Variations
Photo-based gift mug
Start with a high-resolution image and build minimal text around it. Focus heavily on cropping and contrast adjustments before placing text.
Quote-driven design
Use typography as the main visual element. Limit decorative graphics and emphasize spacing and font pairing.
Company merchandise run
Prioritize logo clarity, color consistency, and bulk ordering logistics. Use a consistent layout template for all units.
Small-batch product resale
Design with neutral appeal and avoid hyper-personalized text. Test one sample before scaling up production.
Checklists
Before You Start Checklist
- Final mug size selected
- High-resolution images prepared
- Brand colors defined
- Clear single-message concept written
- Printer specifications reviewed
- Deadline and shipping timeline confirmed
- Rights secured for any images or artwork
- Font licenses confirmed for commercial use
Pre-Export / Pre-Order Checklist
- 300 DPI resolution confirmed
- Safe area margins respected
- Spelling and grammar reviewed
- Font sizes legible at print scale
- Color contrast tested
- Background transparency checked
- Wrap alignment previewed
- File format matches printer requirements
Common Issues and Fixes
Low-resolution image prints blurry
Replace with a higher-resolution source file. Avoid enlarging small images beyond their native size.
Text too close to edges
Move key text inward by at least 0.25 inches from the print boundary.
Color looks dull in print
Increase contrast slightly and avoid extremely bright screen-only tones.
Design looks off-center
Use alignment guides rather than manual spacing. Preview from multiple angles.
Important elements hidden by handle
Shift layout away from the handle area or design symmetrically across the wrap.
Fonts appear thinner in print
Switch to a slightly heavier weight to compensate for print softening.
How To Use Mug Printing Tools: FAQs
Do I need professional design experience to create a custom mug?
No. Most mug printing tools use templates and guided layouts. The main requirement is clarity of message and attention to print-specific details.
Is it better to start with a template or a blank canvas?
For beginners, templates reduce sizing and margin errors. Blank canvases offer flexibility but require careful dimension setup.
Should I design for wraparound or single-sided printing?
Wraparound works well for continuous patterns or longer text. Single-sided designs are often cleaner and easier to align.
What file type is safest for printing?
PNG or high-resolution PDF are common. Always confirm printer requirements before exporting.
Can I reuse the same design across different mug sizes?
Only if you re-check alignment and spacing. Larger mugs may slightly alter wrap proportions.